At ij.start.canon is a process to install Canon printer in a hassle-free way. This technical guide will teach you to perform the setup procedure successfully. Canon provides the complete support and a user-friendly guide to setup the printer. The steps involved in the setup are simple and easy to understand. If you are facing any problem with your printer, just call our experts and get the instant solution for your problem. We pride ourselves on providing personalized service. Our technicians are highly experienced and knowledgeable in resolving any issue related to the setup of Canon printers. We understand how important it is for a user to complete the setup without any hindrance, hence we have made sure that our technicians are always ready to assist you for any query related to ij.start.canon setup. We strive to make sure that all your issues are resolved in time so that you can start using your printer without any delay.
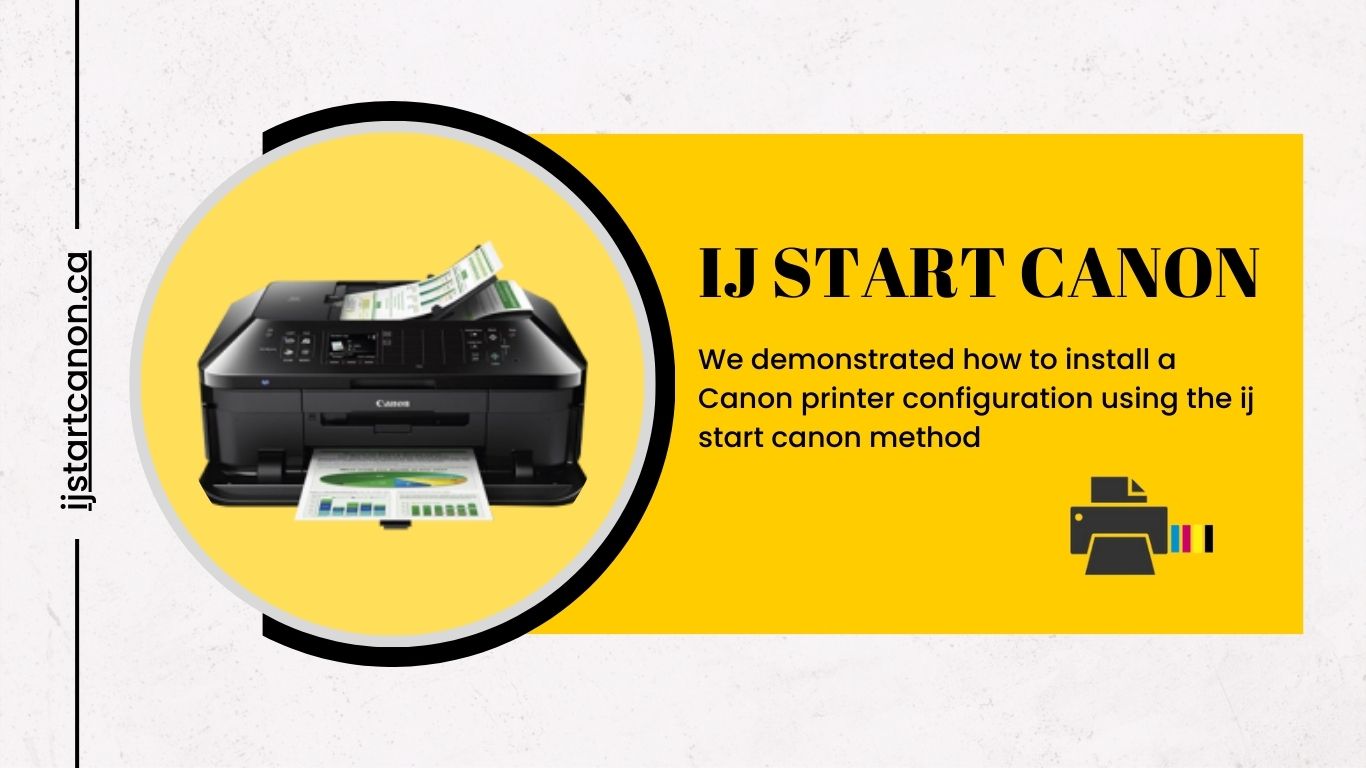
Canon Printer Driver Download with ij.start.canon
To download a Canon printer driver from the official Canon website using ij.start.canon, follow these steps:
- Make sure your Canon printer is connected to your computer and turned on.
- Open a web browser on your computer and go to the Canon support website: ij.start.canon.
- Once the website loads, you will see a search box. Type in the model number of your Canon printer and select it from the suggestions that appear.
- On the printer’s support page, you will find various options and tabs. Look for the “Drivers & Downloads” or “Support” section.
- In the Drivers & Downloads or Support section, you may be asked to select your operating system (e.g., Windows, macOS, Linux) and its version. Choose the appropriate options for your computer.
- After selecting the operating system, you will typically find a list of available drivers and software for your Canon printer model. Look for the specific driver you need and click on the “Download” button next to it.
- Review and accept any terms or agreements if prompted.
- The driver file will start downloading onto your computer. The file format may vary depending on your operating system (e.g., .exe for Windows, .dmg for macOS).
- Once the download is complete, locate the downloaded file on your computer and double-click on it to run the installation.
- Follow the on-screen instructions to complete the driver installation process. This may include agreeing to terms and conditions, selecting installation options, and connecting your printer if prompted.
- After the driver installation is complete, you should be able to use your Canon printer with your computer.
Remember to always download drivers and software from official sources like the Canon website to ensure you’re getting the most up-to-date and secure files.
Guidelines For First-time Setup of Canon Printer
Here are some guidelines for the first-time setup of your Canon printer:
- Unbox the Printer: Carefully unpack the printer from its packaging. Remove all the protective materials and tapes.
- Power Connection: Connect the power cord to the printer and plug it into a power outlet. Ensure that the printer is getting the necessary power supply.
- Ink Cartridge Installation: Open the printer’s ink cartridge access door or panel. Insert the ink cartridges into their respective slots with the correct color orientation. Follow the instructions provided in the printer’s manual or on-screen prompts.
- Paper Loading: Open the paper input tray or cassette. Adjust the paper guides to fit the paper size you’re using. Place a stack of paper into the tray and align it properly. Make sure not to overload the tray.
- Connect to the Network: If your printer supports wireless connectivity, access the printer’s settings or control panel to connect it to your Wi-Fi network. Follow the on-screen instructions to enter your network’s SSID and password.
- Driver Installation: Install the necessary printer drivers on your computer. You can download the drivers from the official Canon website (as mentioned earlier) or use the installation CD that came with the printer. Follow the prompts to install the drivers and software.
- Printer Alignment: Once the drivers are installed, the printer may prompt you to perform an alignment process. This ensures optimal print quality. Follow the instructions on the printer’s display or the software on your computer to align the printer.
- Test Print: After completing the setup, perform a test print to verify that the printer is working correctly. Use a sample document or file to initiate the print command from your computer.
- Optional Features and Settings: Explore additional features and settings offered by your Canon printer, such as scanning, faxing, mobile printing, etc. Refer to the printer’s manual or online resources for detailed instructions on utilizing these features.
Remember, the specific steps and procedures may vary depending on the Canon printer model you have. It’s always recommended to consult the printer’s manual or online documentation for detailed and accurate instructions tailored to your specific printer model.