
As the popularity of cryptocurrencies continues to rise, securing your digital assets has become paramount. One of the most secure ways to store and manage your Bitcoin is by using a hardware wallet like Trezor. In this guide, we will walk you through the process of buying Bitcoin on a Trezor Wallet, ensuring that your assets remain safe and accessible.
Easy Steps To Buy Bitcoin on Trezor Wallet
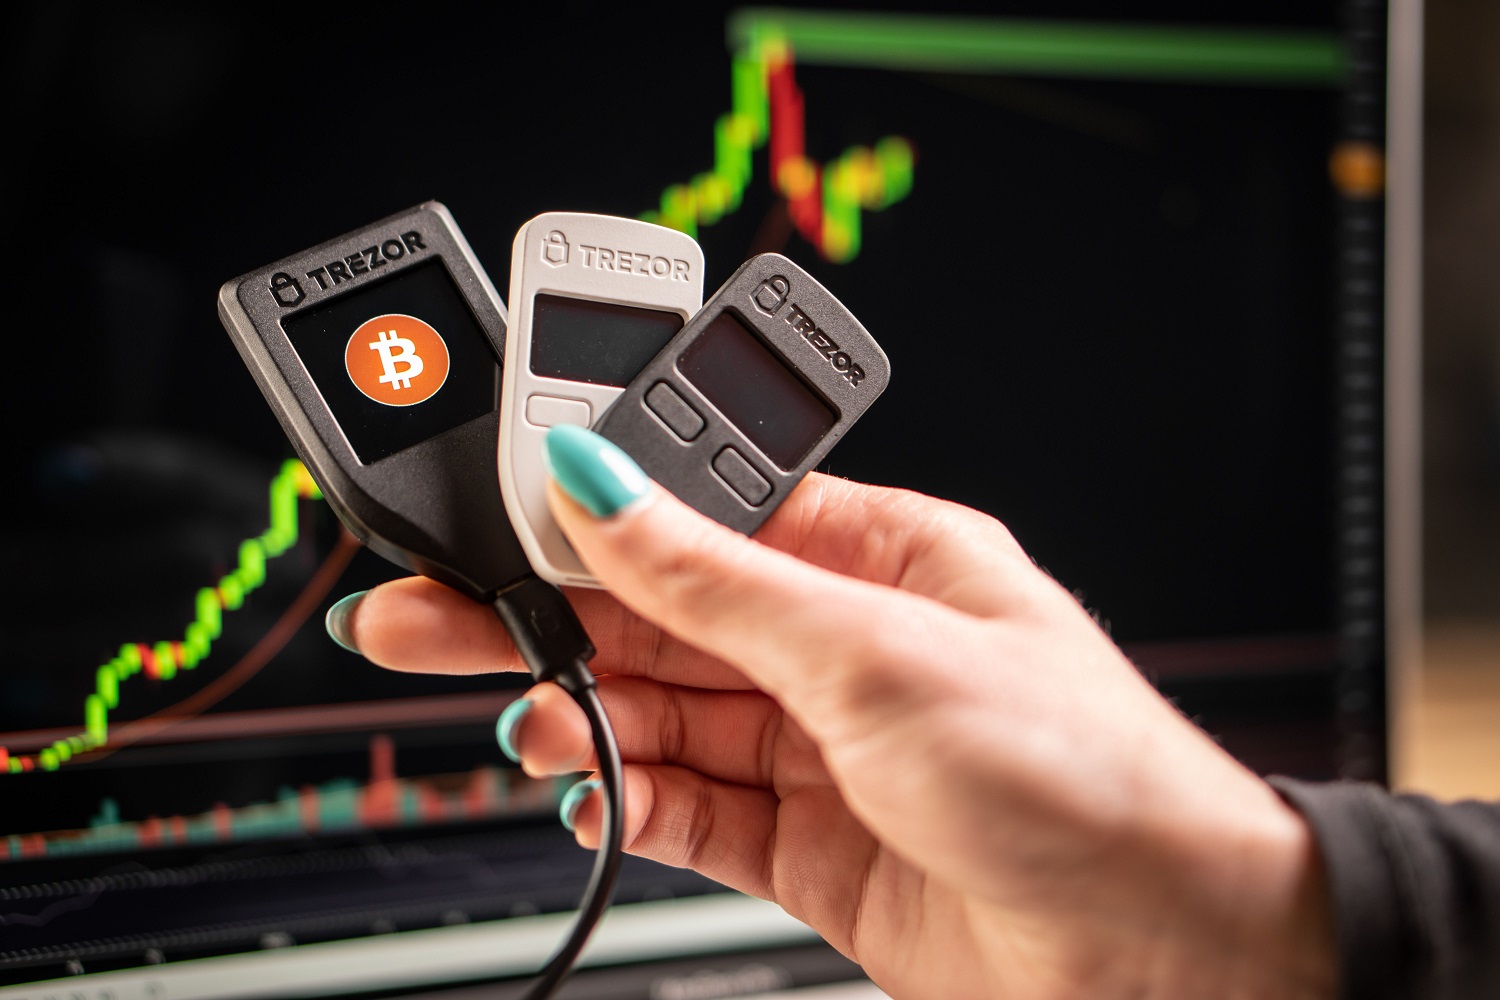
Step 1: Set Up Your Trezor Wallet
If you haven’t already, start by setting up your Trezor hardware wallet. Visit the official Trezor website (trezor.io) to get started. Follow the instructions provided to initialize your device, set a strong PIN, and create a secure recovery seed. This seed will be crucial in case you ever need to restore your wallet.
Step 2: Connect Your Trezor Wallet
Plug your Trezor device into your computer using the USB cable provided. Open the Trezor Wallet interface on your web browser and follow the on-screen prompts to access your wallet. Enter your PIN when prompted.
Note: If you want to send Bitcoin to any other wallet, read the easy and quick guide [ How to send Bitcoin From Trezor Wallet ]
Step 3: Access the Buy Bitcoin Feature
Once you’re inside your Trezor Wallet, locate the “Buy” option in the navigation menu. Trezor supports various cryptocurrency exchanges, and this feature allows you to seamlessly purchase Bitcoin directly from your wallet.
Step 4: Choose an Exchange
Trezor Wallet offers a selection of exchange partners to choose from. Select an exchange that aligns with your preferences, such as location, supported payment methods, and fees. Some popular options include CoinGate, Paybis, and CoinSwitch.
Step 5: Verify Your Identity
The selected exchange will require you to complete a Know Your Customer (KYC) verification process. This typically involves providing identification documents, such as a passport or driver’s license, and sometimes a proof of address. This step is necessary to comply with legal regulations and ensure the security of the transaction.
Step 6: Initiate the Purchase
After your identity is verified, you can now proceed to buy Bitcoin. Specify the amount you wish to purchase, ensuring it aligns with your budget and investment strategy. Review the transaction details carefully before confirming the purchase.
Step 7: Complete the Transaction
Follow the prompts provided by the exchange to complete the transaction. This may involve selecting a payment method, entering payment details, and confirming the purchase. Be sure to double-check all information before proceeding.
Step 8: Receive Bitcoin in Your Trezor Wallet
Once the transaction is confirmed, the purchased Bitcoin will be sent to your Trezor Wallet. It may take some time for the transaction to be fully processed and reflected in your wallet.
Related Blog: How To Transfer Crypto From Coinbase To Trezor [Complete Guide 2023]
Conclusion
Congratulations! You have successfully bought Bitcoin and stored it securely in your Trezor Wallet. Remember to always practice good security hygiene by keeping your recovery seed safe, using strong passwords, and avoiding phishing attempts. Regularly check for software updates and stay informed about best practices for cryptocurrency storage.
By following this step-by-step guide, you can confidently navigate the process of buying Bitcoin on your Trezor Wallet, knowing that your digital assets are protected by one of the most reputable hardware wallets in the industry. Happy investing!
