Introduction
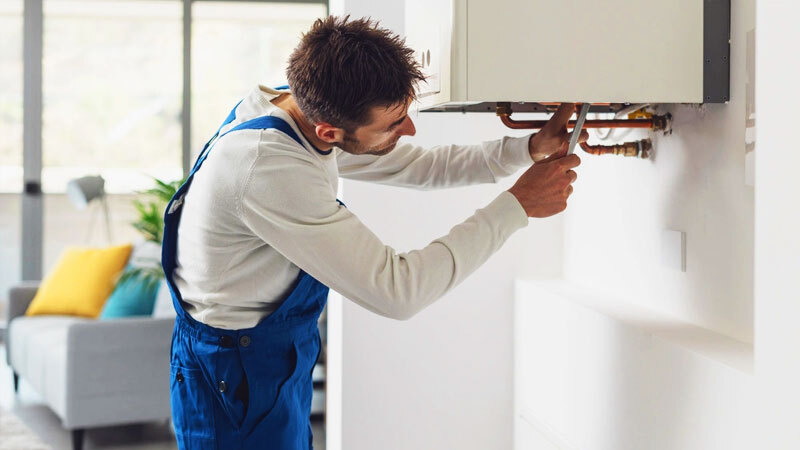
A new Whirlpool stove can elevate your cooking experience, offering innovative features and reliability. However, before you start creating culinary masterpieces, it’s essential to ensure that your stove is correctly installed, including the power cord. In this article, we will guide you through the process of Whirlpool stove power cord installation, covering the necessary steps, safety precautions, and why this is a task that anyone can confidently undertake.
Why Power Cord Installation Matters
Proper power cord installation is vital for safety, functionality, and warranty compliance. Whether you’re replacing an old stove, moving to a new home, or upgrading your kitchen, installing the power cord correctly is crucial. Here’s why it matters:
-
Safety: Ensuring that the power cord is correctly installed reduces the risk of electrical hazards, such as short circuits, fires, or shocks. Safety should always be the top priority.
-
Functionality: Correct installation ensures that your Whirlpool stove operates as intended, including features like temperature control, timer settings, and other cooking options.
-
Warranty: Most appliances come with warranties, and these warranties often stipulate that the appliance must be correctly installed. Failing to do so can void your warranty, potentially costing you in case of any future issues.
-
Peace of Mind: A well-installed power cord provides peace of mind. You can cook and bake with confidence, knowing that your appliance is safe and ready to use.
Steps for Whirlpool Stove Power Cord Installation
Before starting the installation process, make sure you have the following tools and materials on hand:
- A new UL-listed 3-wire or 4-wire power cord (depending on your home’s electrical setup).
- A screwdriver.
- Wire strippers.
- A nut driver or pliers.
- Safety goggles.
- A level.
- A power supply outlet that matches your power cord.
Here’s a step-by-step guide for Whirlpool stove power cord installation:
-
Safety First: Always start by ensuring the power is turned off at the circuit breaker or fuse box. This is a critical safety measure to avoid electrical accidents.
-
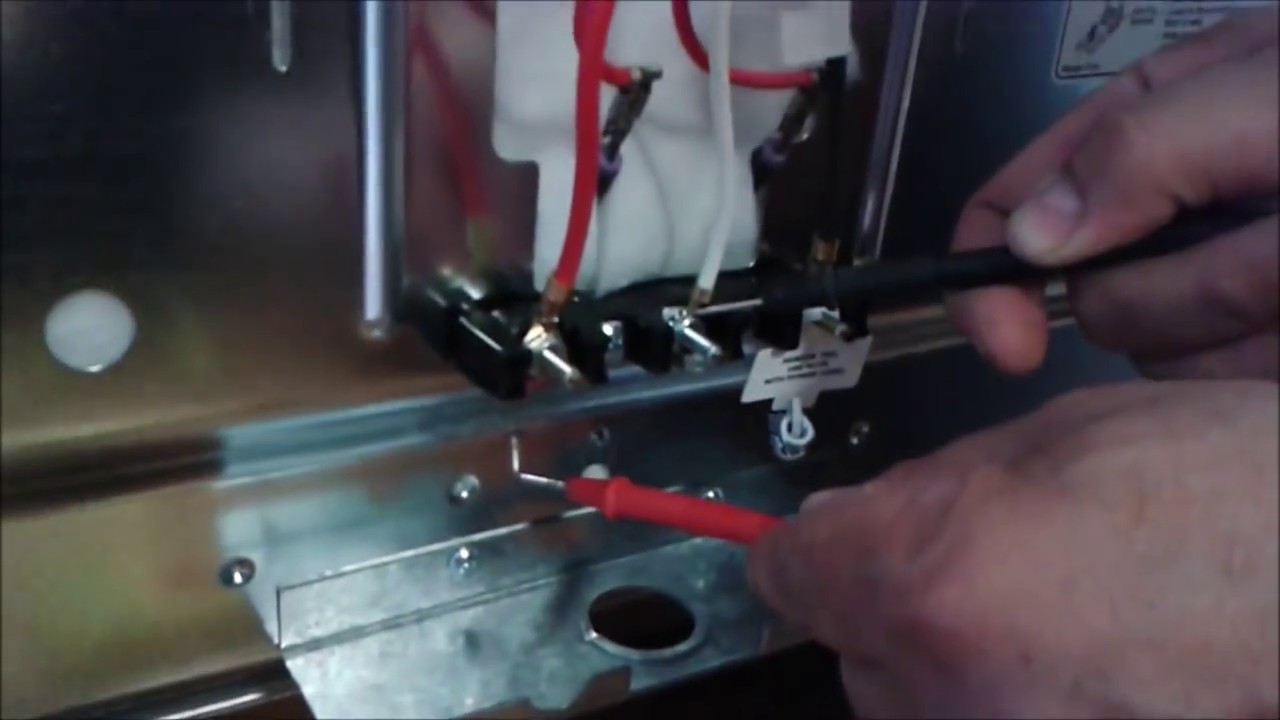
Access the Terminal Block: To access the terminal block, you may need to move the stove slightly away from the wall. If you’re replacing an old stove, you should unplug or disconnect the old power cord from the terminal block.
-
Prepare the Wires: If your home has a 3-wire power supply (hot, neutral, and ground), you’ll have to prepare the wires by stripping the ends. Use wire strippers to remove about 3/8 inch of insulation from each wire.
-
Connect the Wires: Match the wires on the power cord to the corresponding terminal screws on the terminal block. Typically, red and black wires go to the two hot terminals, the white wire connects to the neutral terminal, and the green or bare wire connects to the ground terminal. Tighten the screws securely.
-
Attach Strain Relief: A strain relief bracket helps prevent the power cord from being accidentally pulled out or damaged. Secure the strain relief to the back of the stove using a nut driver or pliers.
-
Level the Stove: Before pushing the stove back into place, ensure it is level. This step is essential for proper cooking results and to prevent spills.
-
Plug In: With the power cord securely connected and the strain relief in place, you can plug the cord into the appropriate power supply outlet.
-
Restore Power: Go back to your circuit breaker or fuse box and turn the power back on. Ensure that the stove’s control panel displays power or is responsive.
-
Test the Stove: Test the stove by turning on the oven or burners to confirm that it’s functioning correctly.
Safety Precautions
Safety should be the utmost concern during power cord installation. Here are some essential safety precautions:
-
Turn Off Power: Always switch off the power at the circuit breaker or fuse box before performing any installation or repair work.
-
Proper Wiring: Ensure that the wires are correctly connected to their corresponding terminals, as specified in the installation manual.
-
Grounding: Proper grounding is essential. Make sure the green or bare wire is securely connected to the ground terminal.
-
Secure Connections: Tighten all screws and connections securely to prevent loose wires or connections.
-
Strain Relief: Attach the strain relief securely to avoid damage to the power cord.
-
Seek Professional Help: If you are not comfortable with the installation process or have any doubts about the wiring, it’s best to seek professional assistance.
Conclusion
Whirlpool stove power cord installation is a crucial step in the setup of your new appliance. By following the provided steps and safety precautions, you can ensure a safe and efficient installation process. Correctly installing the power cord not only protects your home and family but also helps your stove function as designed, preserving your warranty and providing peace of mind for countless meals and culinary adventures ahead.